Replacing the Stratasys Desktop Waste Container
Replacing the Stratasys Desktop Waste Container
This post will continue to address the question of: how do I troubleshoot and take care of my Stratasys PolyJet Printer?
Part Two: Changing the waste container on a Desktop Series Printer
Today’s topic explains how to replace the waste container on your Stratasys PolyJet Desktop Printer. Although an easy task, there are a few pitfalls that can leave you with a big mess of resin to clean up if you’re not careful.

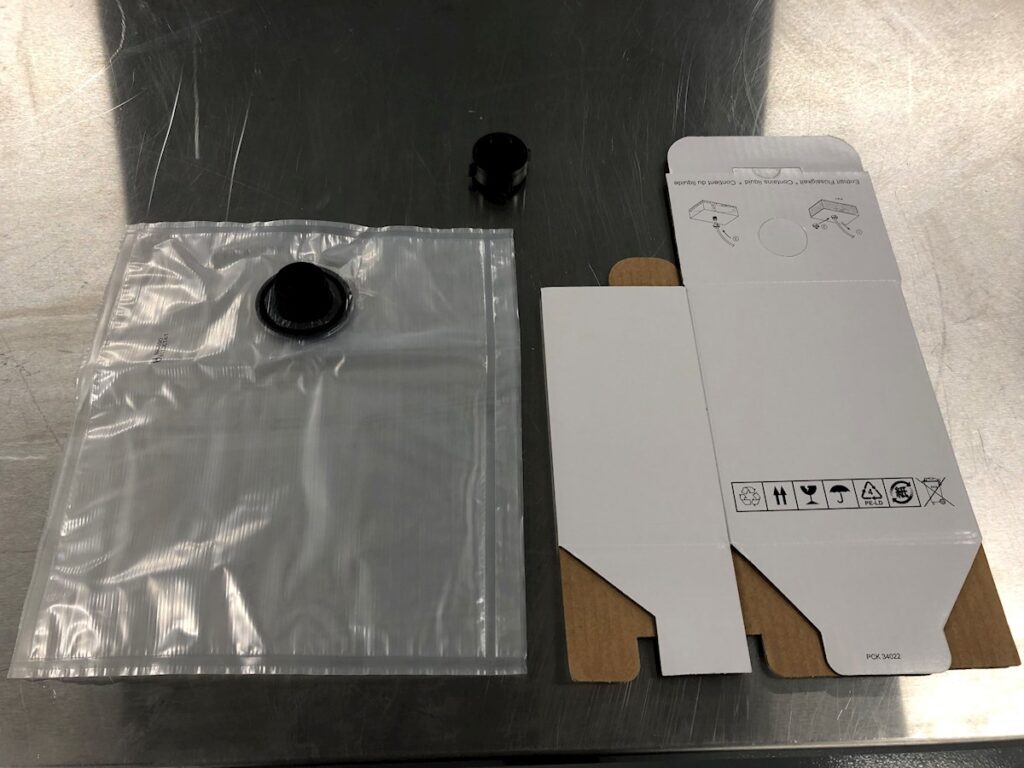
All you will need to replace your full waste container is a new waste container box, waste bag and a cap to seal up the old, full container.
Assemble the carboard box first and then affix the bag/liner into the box.
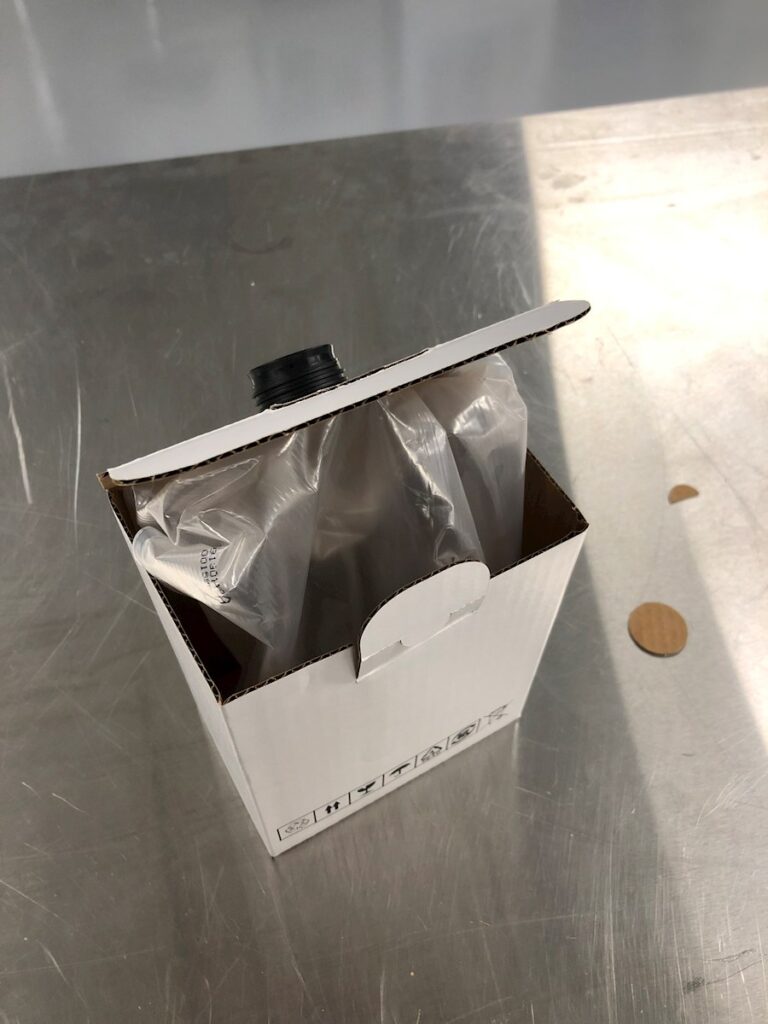
When you install the new waste bag it is VERY IMPORTANT to make sure the bag is not kinked or crinkled. Resin should be able to drip into the bottom of the bag and fill up from the bottom. If resin does not have a clear path to the bottom of the waste bag the waste container can overflow easily. The software will not recognize the overflow because the waste container will not be full, but rather the waste bag is disallowing the resin to enter. The result will likely be an overflow of resin leaking into the area underneath the material cabinet leaving you with a good mess to clean. One easy way to expand the waste bag is to blow into it once you have affixed it to the cardboard waste box.
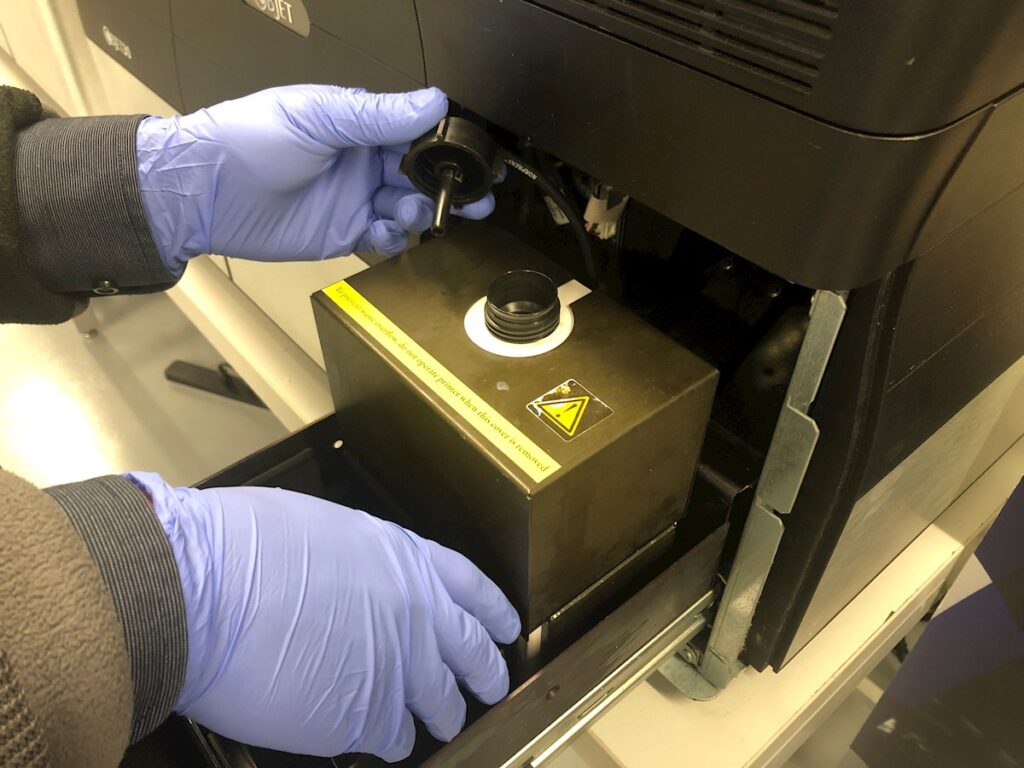
Once you have assembled the new waste container, you can remove the old container and use the waste cap to seal it up. Lift off the metal covering and unscrew the feeding cap. If there is any resin dripping from the feeding tube, wipe off the excess. For disposal of old resin, please refer to your local ordinances regarding how to dispose of hazardous chemicals/waste.

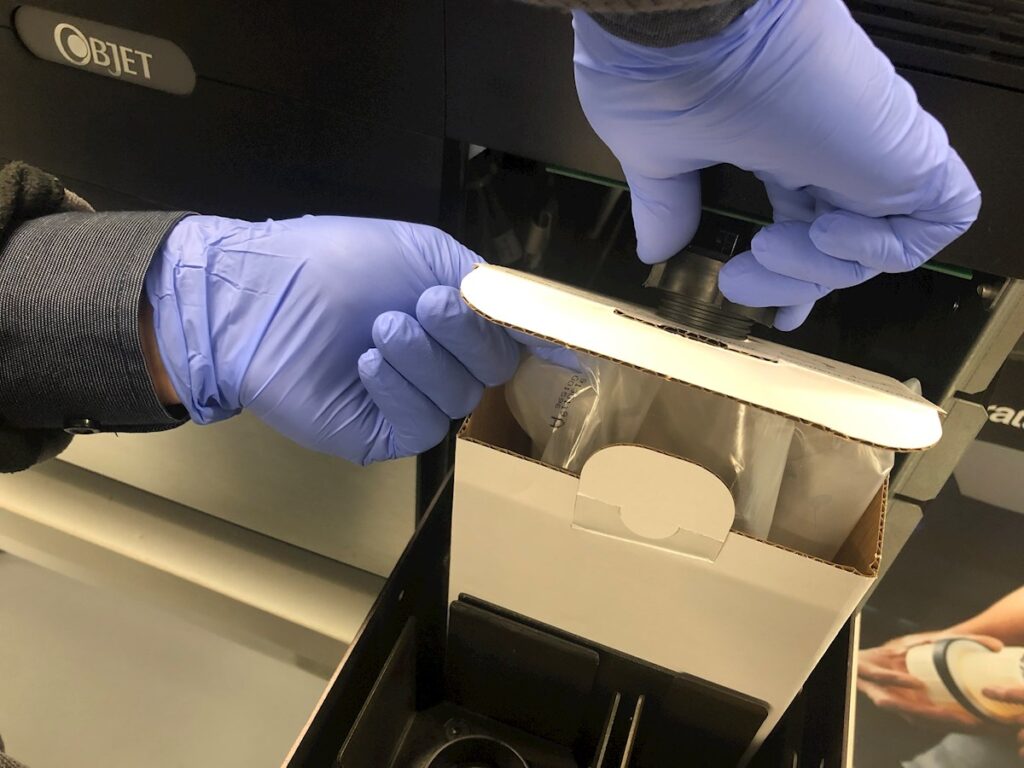
Take the new waste container and seat it in the load cell. Open the top part of the carboard to expose the waste bag. While holding the mouth of the waste bag in place, carefully screw on the waste tube to your new waste container. Make sure the waste bag does not twist or become flattened while screwing on the feeding cap. Once you are confident the waste resin will have a clear path to the bottom of the waste bag, you can close the cardboard, reseat the metal covering and reload your material cartridges.
In the event you are cleaning up resin from places it shouldn’t be use a high percentage isopropyl alcohol (91% or higher) to help dissolve the resin and wipe it up more easily.